
Changing Chords
The first fingerpicking pattern is applied to the following chord progression, made up of the G, E, C and D chords. Practice the pattern on each chord first and then try changing through the chords with the left hand while maintaining a strict rhythm with the right hand picking pattern.

Dropping the Last Note Before A Chord Change
To assist with some chord changes try omitting the last note before a chord change. The next example is the same as the last except the final note in each bar is not played.

Using an Open String to Change Chords
Another tip when changing chords is to move to the next chord shape before the last note is played but still pick the string, causing an open string to be played. This is demonstrated next, between the G and E chords and the D to G chords.

Example 14 uses the first fingerpicking pattern over a sixteen bar progression in the key of G. The boxed notes are highlighted as a reminder to either substitute an open string to assist with the chord change or to simply omit the note altogether.
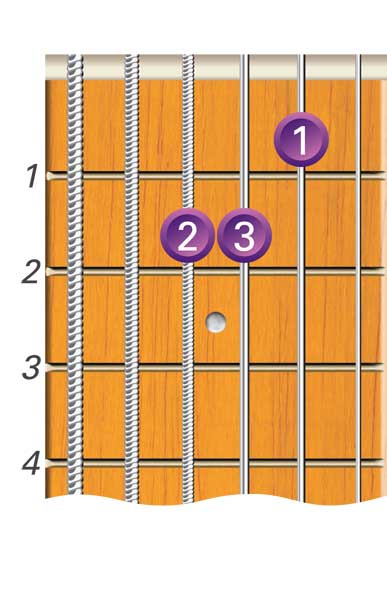
G7


Fingerpicking Pattern Two
The next fingerpicking pattern to learn differs to the previous pattern in only that the order of the first and second string has been reversed. In the early stages of learning fingerpicking it is very important to practice different patterns so you don’t get into the habit of playing one type of pattern.

Fingerpicking Pattern Two is used in the next example. The first chord change, from C to Am, is an easy change but the remaining changes will need to be practiced slowly at first. Special attention should be given to the final note in each bar.
Dm

Am

The following eight bar progression in the key of D combines the two fingerpicking patterns introduced in this lesson.

